
 Anabelle McLean
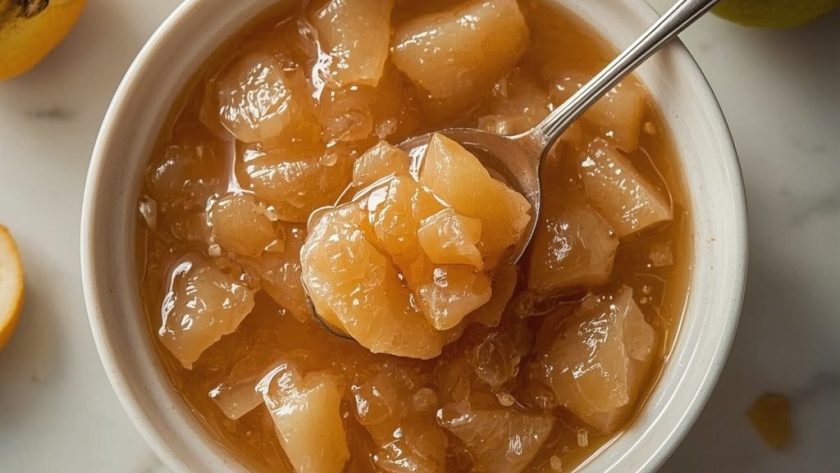
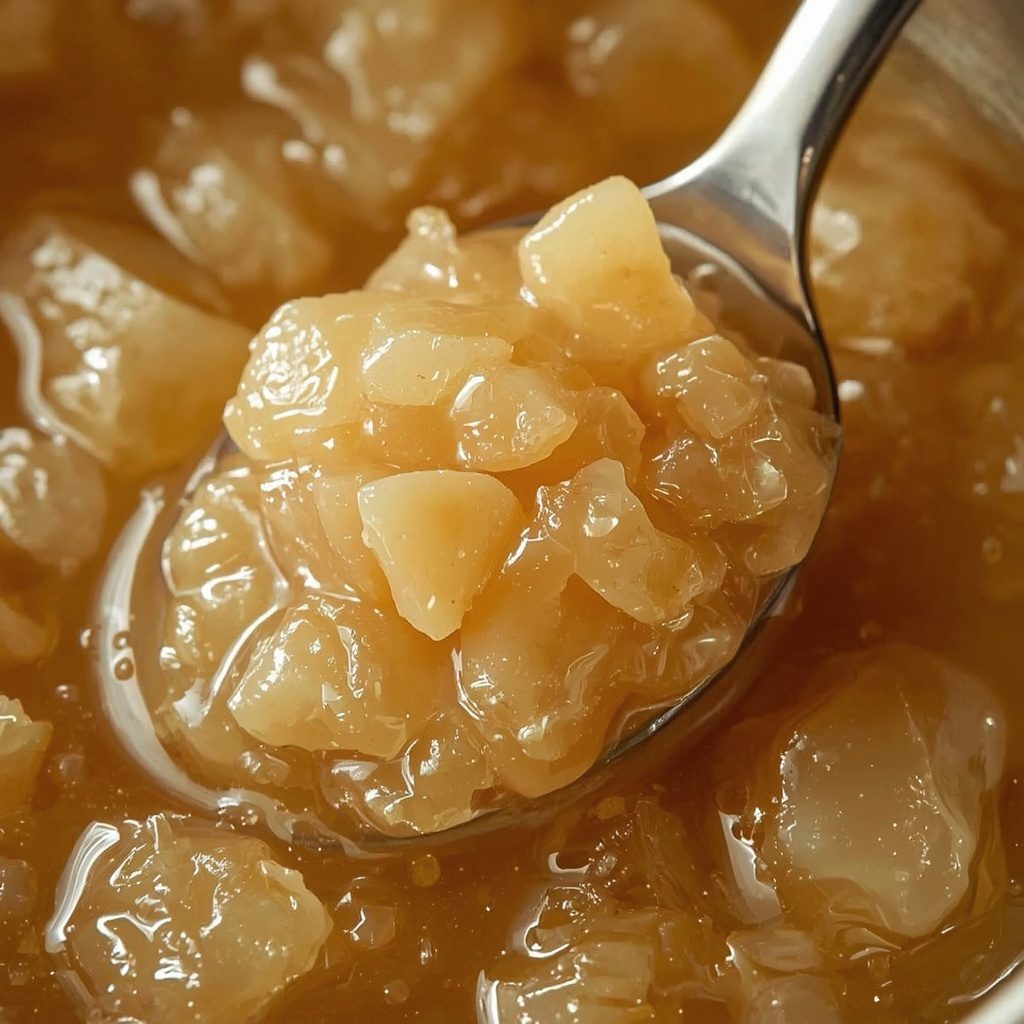
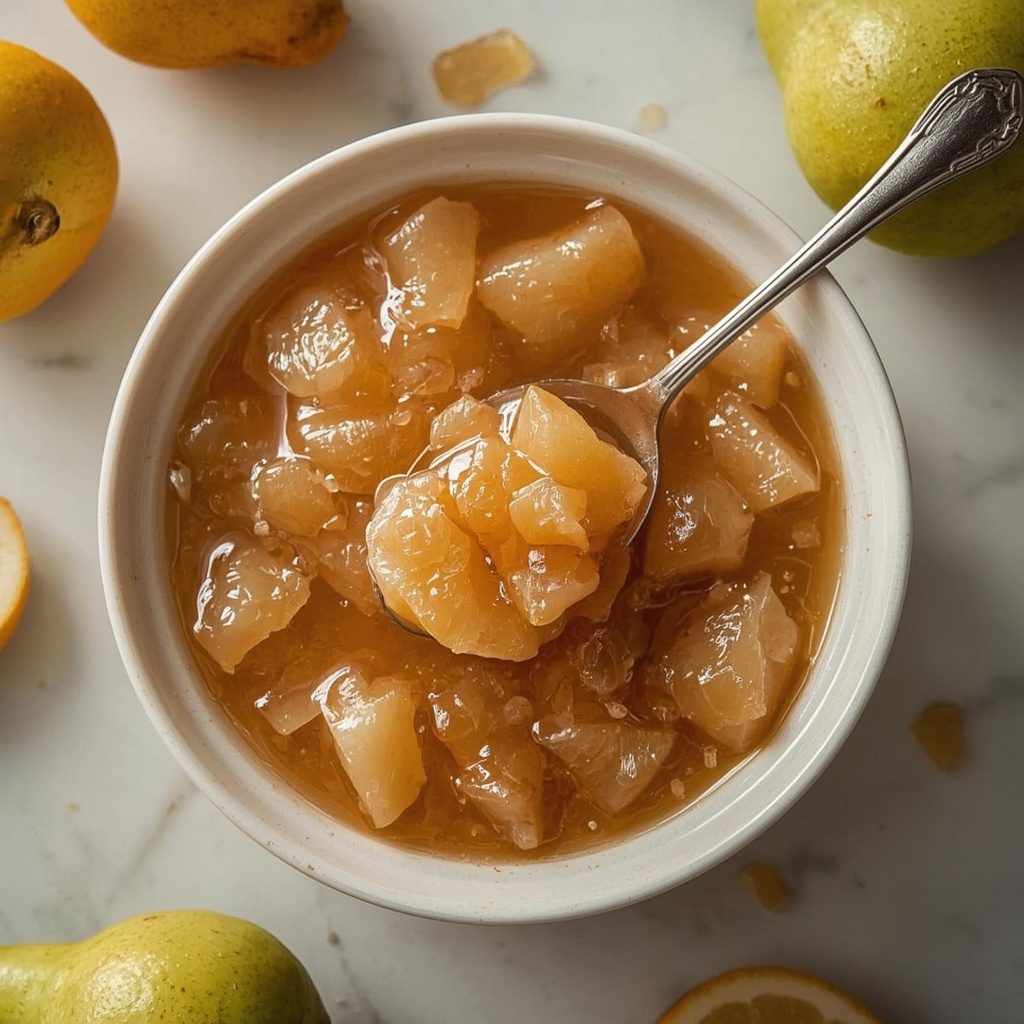
 Pioneer Woman Pear Preserves are a stovetop fruit spread made from ripe pears, sugar, lemon, and warm spices. The result is a glossy amber preserve with soft, translucent pear chunks suspended in a silky syrup. Think mellow pear sweetness balanced by bright lemon and a whisper of cinnamon and nutmeg.
Total time runs 80 minutes, which includes 20 minutes of prep and about an hour of slow simmering. This one lands at intermediate difficulty — the technique is straightforward, but the cold plate test for doneness takes a little practice to read correctly. It’s an ideal weekend project when pears are at their peak in late summer and early fall.
What is Pioneer Woman Pear Preserves?
Pioneer Woman Pear Preserves are a classic American fruit preserve cooked slowly on the stovetop. Bartlett or Anjou pears get peeled, chopped, and simmered with granulated sugar, fresh lemon juice, lemon zest, cinnamon, nutmeg, and a touch of vanilla. The mixture cooks down until thick, glossy, and deeply golden.
The texture lands somewhere between jam and chunky compote — soft pear pieces hold their shape while the surrounding syrup turns silky and spoonable. Flavor-wise, expect natural pear sweetness with a bright citrus lift and gentle warmth from the spices.
This preserve works beautifully on biscuits, toast, or swirled into yogurt. It also makes a thoughtful homemade gift when packed into sterilized jars.
Why You Should Try This Recipe
- Small batch friendly — It makes four 8-ounce jars, which is manageable for first-time canners or anyone with limited pantry space.
- No pectin required — The pears and sugar do all the thickening work naturally, so you do not need any specialty gelling agents.
- Versatile beyond breakfast — Spoon it over oatmeal, pair it with sharp cheese, or use it as a filling for thumbprint cookies.
- Make-ahead and giftable — Properly processed jars keep for up to a year, which means holiday gifts can be sorted out months in advance.
Ingredients Needed to Make Pioneer Woman Pear Preserves
Every ingredient here serves a clear purpose, and most are pantry staples. Using ripe but firm pears makes the biggest difference in the final texture.
Fruit and Aromatics
- 3 lb ripe but firm Bartlett or Anjou pears — Peeled, cored, and cut into 1/2-inch chunks (about 6 cups prepared). Firm pears hold their shape during the long simmer instead of turning to mush.
- 1 tbsp fresh lemon zest — Finely grated, it adds concentrated citrus oils that brighten the whole preserve without adding liquid.
- 1/4 cup freshly squeezed lemon juice (strained) — Straining removes pulp and seeds, keeping the syrup clear. The acidity also balances the sugar and helps with setting.
Sugar and Seasonings
- 2 1/2 cups granulated sugar — White sugar keeps the pear flavor front and center while giving the syrup its glossy body.
- 1/2 tsp ground cinnamon — Adds warmth without overpowering the delicate pear flavor.
- 1/4 tsp ground nutmeg — A subtle earthy note that rounds out the spice profile.
- 1/8 tsp fine sea salt — Just enough to sharpen the fruit flavors and cut through the sweetness.
- 1 tsp vanilla extract — Stirred in at the very end so its aromatic compounds stay intact.
- 1/2 cup water — Helps dissolve the sugar evenly before the pears release their own juices.
Step by Step Instructions to Prepare Pioneer Woman Pear Preserves
Here is the full process, broken down so each stage is clear. The cold plate test in step six is the one place where patience really pays off.
- Prepare the pears — Peel each pear with a vegetable peeler, cut in half lengthwise, and scoop out the core and seeds with a melon baller or small spoon. Cut into uniform 1/2-inch chunks so everything cooks at the same rate, then place them in a large, heavy-bottomed stainless steel or enameled cast-iron pot.
- Macarate the mixture — Add the sugar, water, lemon juice, lemon zest, cinnamon, nutmeg, and fine sea salt to the pot. Stir gently until the sugar is evenly distributed, then let it stand at room temperature for 15 minutes to draw out the pears’ natural juices.
- Bring to a boil — Place the pot over medium heat and stir constantly until the sugar completely dissolves. The liquid will turn from cloudy to clear and glossy. Once large, slow bubbles break across the entire surface, reduce the heat to medium-low.
- Simmer and skim — Maintain a low, steady simmer and stir every 5 to 7 minutes to prevent sticking and scorching. Skim off any foam that forms on the surface with a large spoon and discard it for a clearer preserve.
- Cook until thickened — Cook for 45 to 55 minutes total, stirring more frequently in the final 15 minutes as the mixture thickens. The pears will gradually turn translucent and the syrup will darken from pale gold to deep amber. A spoon dragged across the bottom of the pot should leave a trail that slowly fills back in.
- Test for doneness — Place a small plate in the freezer for 5 minutes. Spoon 1 teaspoon of hot preserves onto the cold plate, return it to the freezer for 1 minute, then nudge the edge with your fingertip. If the surface wrinkles and holds its shape, it is ready. If still thin and runny, cook 5 more minutes and test again.
- Add the vanilla and rest — Remove the pot from the heat and stir in the vanilla extract. Let the preserves rest for 10 minutes so the fruit chunks settle evenly throughout the syrup instead of floating to the top of the jars.
- Sterilize the jars — While the preserves rest, wash and sterilize four 8-ounce glass canning jars or heatproof containers with lids. Submerge jars and lids in boiling water for 10 minutes, then remove with tongs and place upside down on a clean kitchen towel to drain and dry.
- Fill the jars — Ladle the hot preserves into the warm sterilized jars, leaving 1/4 inch of headspace at the top. Wipe the rims with a clean, damp paper towel to remove any sticky residue, then fasten the lids securely but not over-tight.
- Cool or process — For immediate use, let the jars cool completely at room temperature for 2 hours, then refrigerate. For shelf-stable storage, process the filled jars in a boiling water bath for 10 minutes with at least 1 inch of water covering them. Remove the canner lid, wait 5 minutes, lift jars out, and cool undisturbed on a towel for 12 hours.
- Check the seals — Press the center of each lid on processed jars. A properly sealed lid will be concave and will not flex or pop. Refrigerate any unsealed jars and use within 3 weeks. Label sealed jars with the date and store in a cool, dark place.
What Goes Well With Pioneer Woman Pear Preserves
This preserve leans sweet and mellow, so pairings benefit from a bit of contrast — buttery, salty, or tangy elements all work nicely.
- Buttermilk biscuits — Flaky, salty biscuits let the pear flavor shine without competing for attention.
- Sharp cheddar cheese — The tangy bite of aged cheddar cuts through the sweetness and brings out the fruit’s depth.
- Plain Greek yogurt — Swirl a spoonful into full-fat yogurt for an instant breakfast upgrade with no extra cooking.
- Warm cornbread — The subtle corn sweetness and crumbly texture make a cozy base for a thick layer of preserves.
- Vanilla ice cream — Warm, spooned-over-cold pairing that reads like a rustic pear sundae.
- Peanut butter sandwich — Swap out grape jelly for pear preserves and the sandwich instantly feels more grown-up.
Essential Tips for Perfecting Pioneer Woman Pear Preserves
These pointers come from the details that trip people up most often, especially around texture and proper setting.
- Use firm pears — Ripe but firm Bartlett or Anjou pears hold their shape during the long simmer. Overly soft pears break down into mush and you lose the chunky texture entirely.
- Keep the chunks uniform — Cutting every piece to the same 1/2-inch size means everything cooks and softens at the same pace. Mixed sizes leave you with some hard bits and some disintegrated ones.
- Do not skip the maceration step — Those 15 minutes of standing draw out the pear juices and dissolve the sugar before heat is applied. Skipping it often leads to sugar scorching on the pot bottom early in cooking.
- Skim the foam regularly — Foam is harmless, but leaving it in clouds the syrup and gives the finished preserve a murky look. A few quick skims through the cook time keeps everything clear and glossy.
- Stir more in the final stretch — The last 15 minutes are when the mixture thickens and most easily scorches. Switching to constant gentle stirring here prevents burnt spots and ensures even color.
- Trust the cold plate test over time — Every stove and pot heats differently, so a fixed cook time is only a guide. The wrinkle test tells you the truth about whether the syrup has reached the right consistency.
- Warm jars before filling — Ladling hot preserves into cold jars can cause thermal shock and cracking. Sterilized jars straight from the hot water bath are the right temperature for filling.
Variations of Pioneer Woman Pear Preserves
Once you have the base recipe down, small tweaks can push the flavor in entirely new directions.
- Ginger-pear version — Add 1 tablespoon of finely grated fresh ginger along with the lemon juice. The spicy warmth pairs naturally with the mellow pear and warm spices.
- Cardamom and orange — Swap the lemon zest for orange zest and replace the nutmeg with 1/4 teaspoon of ground cardamom for a more floral, aromatic profile.
- Bourbon-free maple pear — Replace 1/2 cup of the granulated sugar with pure maple syrup and skip the vanilla. The maple deepens the caramel notes without any alcohol.
- Chunky spiced pear butter — Cook the mixture an extra 15 to 20 minutes and mash the pears lightly with a potato masher halfway through for a thicker, more spreadable texture.
- Pear-vanilla bean preserves — Split and scrape one vanilla bean pod into the pot during simmering instead of using extract at the end. The speckled vanilla seeds add visual appeal and deeper flavor.
- Pear and dried cranberry — Stir in 1/2 cup of dried cranberries during the last 10 minutes of cooking for chewy, tart bursts throughout the preserve.
Storing Pioneer Woman Pear Preserves: Best Practices
How you store the finished jars depends on whether you processed them for shelf stability or plan to refrigerate right away.
- Refrigerator storage (unsealed or opened jars) — Keep in the refrigerator for up to 3 weeks. Always use a clean spoon to scoop preserves to avoid introducing bacteria.
- Sealed pantry storage — Properly water-bath processed jars keep in a cool, dark pantry for up to 12 months. Store away from direct sunlight and heat sources like the stove or dishwasher.
- Freezer storage — Ladle cooled preserves into freezer-safe containers, leaving 1/2 inch of headspace, and freeze for up to 6 months. Thaw overnight in the refrigerator before using.
- Label everything — Write the date on every jar, even the ones going straight into the fridge. Preserves can look identical weeks later, and the date helps you track freshness.
Reheating Pioneer Woman Pear Preserves: Best Practices
Preserves are typically enjoyed at room temperature, but a gentle warm-up makes them spread more easily straight from the fridge.
- Microwave method — Spoon 1/4 cup into a microwave-safe bowl and heat for 15 to 20 seconds. Stir once before spreading.
- Stovetop method — Warm the preserves in a small saucepan over low heat for 1 to 2 minutes, stirring once. Remove from heat as soon as it loosens up.
- Room temperature method — Scoop out the amount you need and let it sit on the counter for 15 to 20 minutes. No heat needed, just patience.
- Do not reheat repeatedly — Remove only what you plan to use. Repeatedly warming and re-chilling the same jar shortens its fridge life and degrades flavor.
FAQs
Can I freeze Pioneer Woman Pear Preserves?
Yes. Ladle cooled preserves into freezer-safe containers, leaving 1/2 inch of headspace to allow for expansion. Freeze for up to 6 months and thaw overnight in the refrigerator before using.
How long does Pioneer Woman Pear Preserves last in the fridge?
Unsealed or opened jars keep in the refrigerator for up to 3 weeks. Always use a clean spoon when scooping to extend the shelf life as long as possible.
Why did my pear preserves come out runny?
The mixture likely needed more cooking time. The cold plate test is the most reliable way to confirm doneness — if the surface does not wrinkle when nudged, keep simmering and test again in 5-minute increments.
Do I need pectin for pear preserves?
No added pectin is required. The natural pectin in the pears, combined with the right ratio of sugar and lemon juice, thickens the preserves during the long simmer.
What is the difference between pear jam and pear preserves?
Preserves contain larger, recognizable chunks of fruit suspended in a syrup, while jam is cooked longer and mashed into a more uniform spread. This recipe leans toward the preserve style with distinct pear pieces.
Can I use a different type of pear for Pioneer Woman Pear Preserves?
Bartlett and Anjou pears are ideal because they hold their shape well. Bosc pears also work, but avoid Comice or other very soft varieties, which tend to fall apart during the long cooking time.
Final Words
Pioneer Woman Pear Preserves are one of those recipes that rewards a slow afternoon in the kitchen. The transformation from firm pear chunks to glossy, amber spoonfuls never gets old, and the jars make lovely gifts when pears are at their peak.
If you have never tried making preserves without pectin before, this is a great place to start. The process is forgiving, the ingredients are simple, and the payoff lasts for months.
Print
Pioneer Woman Pear Preserves
- Prep Time: 20
- Cook Time: 60
- Total Time: 80
- Yield: 4 1x
- Category: Breakfast
- Method: Stovetop
- Cuisine: American
Description
These golden, spoon-tender pear preserves capture the mellow sweetness of ripe pears with a bright hint of lemon. The texture is silky and thick, with soft pear chunks suspended in a glossy, amber syrup. Perfect for spreading on biscuits, spooning over yogurt, or layering into a classic PB&J.
Ingredients
- 3 lb ripe but firm Bartlett or Anjou pears, peeled, cored, and cut into 1/2-inch chunks (about 6 cups prepared)
- 2 1/2 cups granulated sugar
- 1/4 cup freshly squeezed lemon juice, strained
- 1 tbsp fresh lemon zest, finely grated
- 1/2 tsp ground cinnamon
- 1/4 tsp ground nutmeg
- 1/8 tsp fine sea salt
- 1 tsp vanilla extract
- 1/2 cup water
Instructions
- Prepare the pears: Peel each pear with a vegetable peeler, then cut in half lengthwise and use a melon baller or small spoon to scoop out the core and seeds. Cut the pear halves into uniform 1/2-inch chunks so they cook evenly and break down at the same rate. Place the pear chunks in a large, heavy-bottomed stainless steel or enameled cast-iron pot.
- Add the sugar, water, lemon juice, lemon zest, cinnamon, nutmeg, and fine sea salt to the pot with the pears. Stir gently with a wooden spoon or heatproof spatula until the sugar is evenly distributed and begins to dissolve into the fruit juices. Let the mixture stand at room temperature for 15 minutes; this maceration step draws out the pears’ natural juices and helps the sugar dissolve fully before cooking.
- Place the pot over medium heat and stir constantly until the sugar completely dissolves and the mixture comes to a gentle boil. You will see the liquid turn from cloudy to clear and glossy as the sugar melts. Once you see large, slow bubbles breaking across the entire surface — not just at the edges — reduce the heat to medium-low.
- Maintain a low, steady simmer, stirring every 5 to 7 minutes with a wooden spoon to prevent sticking and scorching on the bottom of the pot. As the mixture cooks, foam may form on the surface; skim it off with a large spoon and discard. The foam is just air and impurities from the fruit and is safe to eat, but removing it gives you a clearer, more beautiful preserve.
- Cook the preserves for 45 to 55 minutes total, stirring more frequently in the final 15 minutes as the mixture thickens. The pears will gradually turn translucent and the syrup will darken from pale gold to a deep amber. Watch for the syrup to thicken enough that a spoon dragged across the bottom of the pot leaves a trail that slowly fills back in.
- Test for doneness using the cold plate method: Place a small plate in the freezer for 5 minutes. Spoon 1 teaspoon of the hot preserves onto the cold plate, return it to the freezer for 1 minute, then nudge the edge of the puddle with your fingertip. If the surface wrinkles and holds its shape, the preserves are ready. If it is still thin and runny, continue cooking for 5 more minutes and test again.
- Remove the pot from the heat and stir in the vanilla extract. Let the preserves rest in the pot for 10 minutes; this brief rest allows the fruit chunks to settle evenly throughout the syrup so you don’t end up with all the pears floating at the top of the jar.
- While the preserves rest, wash and sterilize four 8-ounce glass canning jars or heatproof containers with lids. Submerge jars and lids in a pot of boiling water for 10 minutes, then remove with tongs and place upside down on a clean kitchen towel to drain and dry.
- Ladle the hot preserves into the warm sterilized jars, leaving 1/4 inch of headspace at the top. Wipe the rims with a clean, damp paper towel to remove any sticky residue that could prevent a good seal. Fasten the lids securely but not over-tight.
- For immediate use, allow the jars to cool completely at room temperature for 2 hours, then refrigerate. For shelf-stable storage, process the filled jars in a boiling water bath for 10 minutes, ensuring the jars are covered by at least 1 inch of water. Remove the canner lid, wait 5 minutes, then lift jars out and cool undisturbed on a towel for 12 hours.
- Check the seals on any processed jars by pressing the center of each lid. A properly sealed lid will be concave and will not flex or pop. Refrigerate any jars that did not seal and use within 3 weeks. Label sealed jars with the date and store in a cool, dark place.
Notes
Refrigerator storage: Unsealed or opened jars keep in the refrigerator for up to 3 weeks; always use a clean spoon to scoop preserves. Shelf storage: Properly water-bath processed jars keep in a cool, dark pantry for up to 12 months. Freezer storage: Ladle cooled preserves into freezer-safe containers, leaving 1/2 inch headspace, and freeze for up to 6 months; thaw overnight in the refrigerator before use. Reheating: To soften refrigerated preserves for spreading, microwave 1/4 cup in a microwave-safe bowl for 15 to 20 seconds, or warm gently in a saucepan over low heat for 1 to 2 minutes, stirring once. Do not reheat and re-store repeatedly; remove only what you plan to use.
Nutrition
- Calories: 182
- Sugar: 41g
- Sodium: 47mg
- Unsaturated Fat: 0g
- Carbohydrates: 48g
- Fiber: 4g
- Protein: 1g
- Cholesterol: 0mg
Keywords: pioneer woman pear preserves, pear preserves recipe, homemade pear jam, pear jelly, canned pears, fruit preserves, pioneer woman recipe, stovetop jam, fall breakfast spread, no-pectin jam, easy pear preserve, southern preserves